A Step by Step Cueing Guide for Barre & Pilates Instructors
Share
You love Barre and Pilates but once you start teaching you realise, filling the space of a 45-60 minute class with your voice is very overwhelming. Trying to choose from millions of different ways to say the same thing is overwhelming and it's easy to become tired of sounding like a broken record.
Well, don’t stress. Fitness isn’t rocket science and finding good cues for great teaching is what I’m here to help you with (pssst... If you are particularly new and/or nervous, check out our blog ‘Verbal cueing like a pro: it’s easier than you think’ for more encouragement here)!
We all need somewhere simple to get started and a system to follow until it’s time to spread our wings and improvise but until then…
Here is a 8 step system divided in 2 parts.
Part 1 - S-BAM
4 steps to get you started and running a good class. These 4 steps are the basics and should be practiced until they become automatic and subconscious. We like to call it S-BAM.
S - Set Up
B - Breathe
A - Action
M - Modification
Part 2 - TIPP
The next 4 Steps bring layers of education, motivation and comprehension. These cues turn your class from a good class into a fantastic class. It’s the art of teaching, and we call it TIPP. Think of it as ‘Sharing your top TIPPS!’
T - Technique
I - Imagery
P - Purpose
P - Personal
But..
Let’s start with S-BAM, the basics, and get to the rest later.
S is for Set Up & Safety - This is the practical start required for the exercise. What equipment is needed? Where to position in the room? What spring weight if on a reformer? What cautions might they need to know for some exercises? Experienced Instructors are not afraid to say these things twice. They know that people tune out!
B is for Breath - This is a moment to bring attention and awareness to the body. In Pilates, Joseph always saw his exercises as a mind, body and breath connected practise and there’s much evidence citing the benefits of attention to breath for many physical and physiological benefits. Practically, it can also slow your group class down so they hear you clearly and focus their attention to what they are about to do. This can be very short or more detailed, depending on the context of the class.
A is for Action – This is what you’re actually going to do. These instructions need to be simple and clear. LESS IS MORE. Don’t be technical. These verbal cues are best received when complimented with a visual demonstration at the same time. So you might need to position yourself to best be seen by the group.
(NOTE: demonstration may not always be possible and also may not be needed for simple movements or actions)
M is for Modification or progression - This is where you give autonomy to the client to choose options to suit their body. Almost straight away after providing the Action cue and you have the group moving, you should offer a modification (if needed) and/or a progression.
EXCEPTION: You don’t need to do this if the exercise is inclusive of everyone. Alternatively, if the exercise is not suited to some in your group you can show a modification at the same time as starting the action.
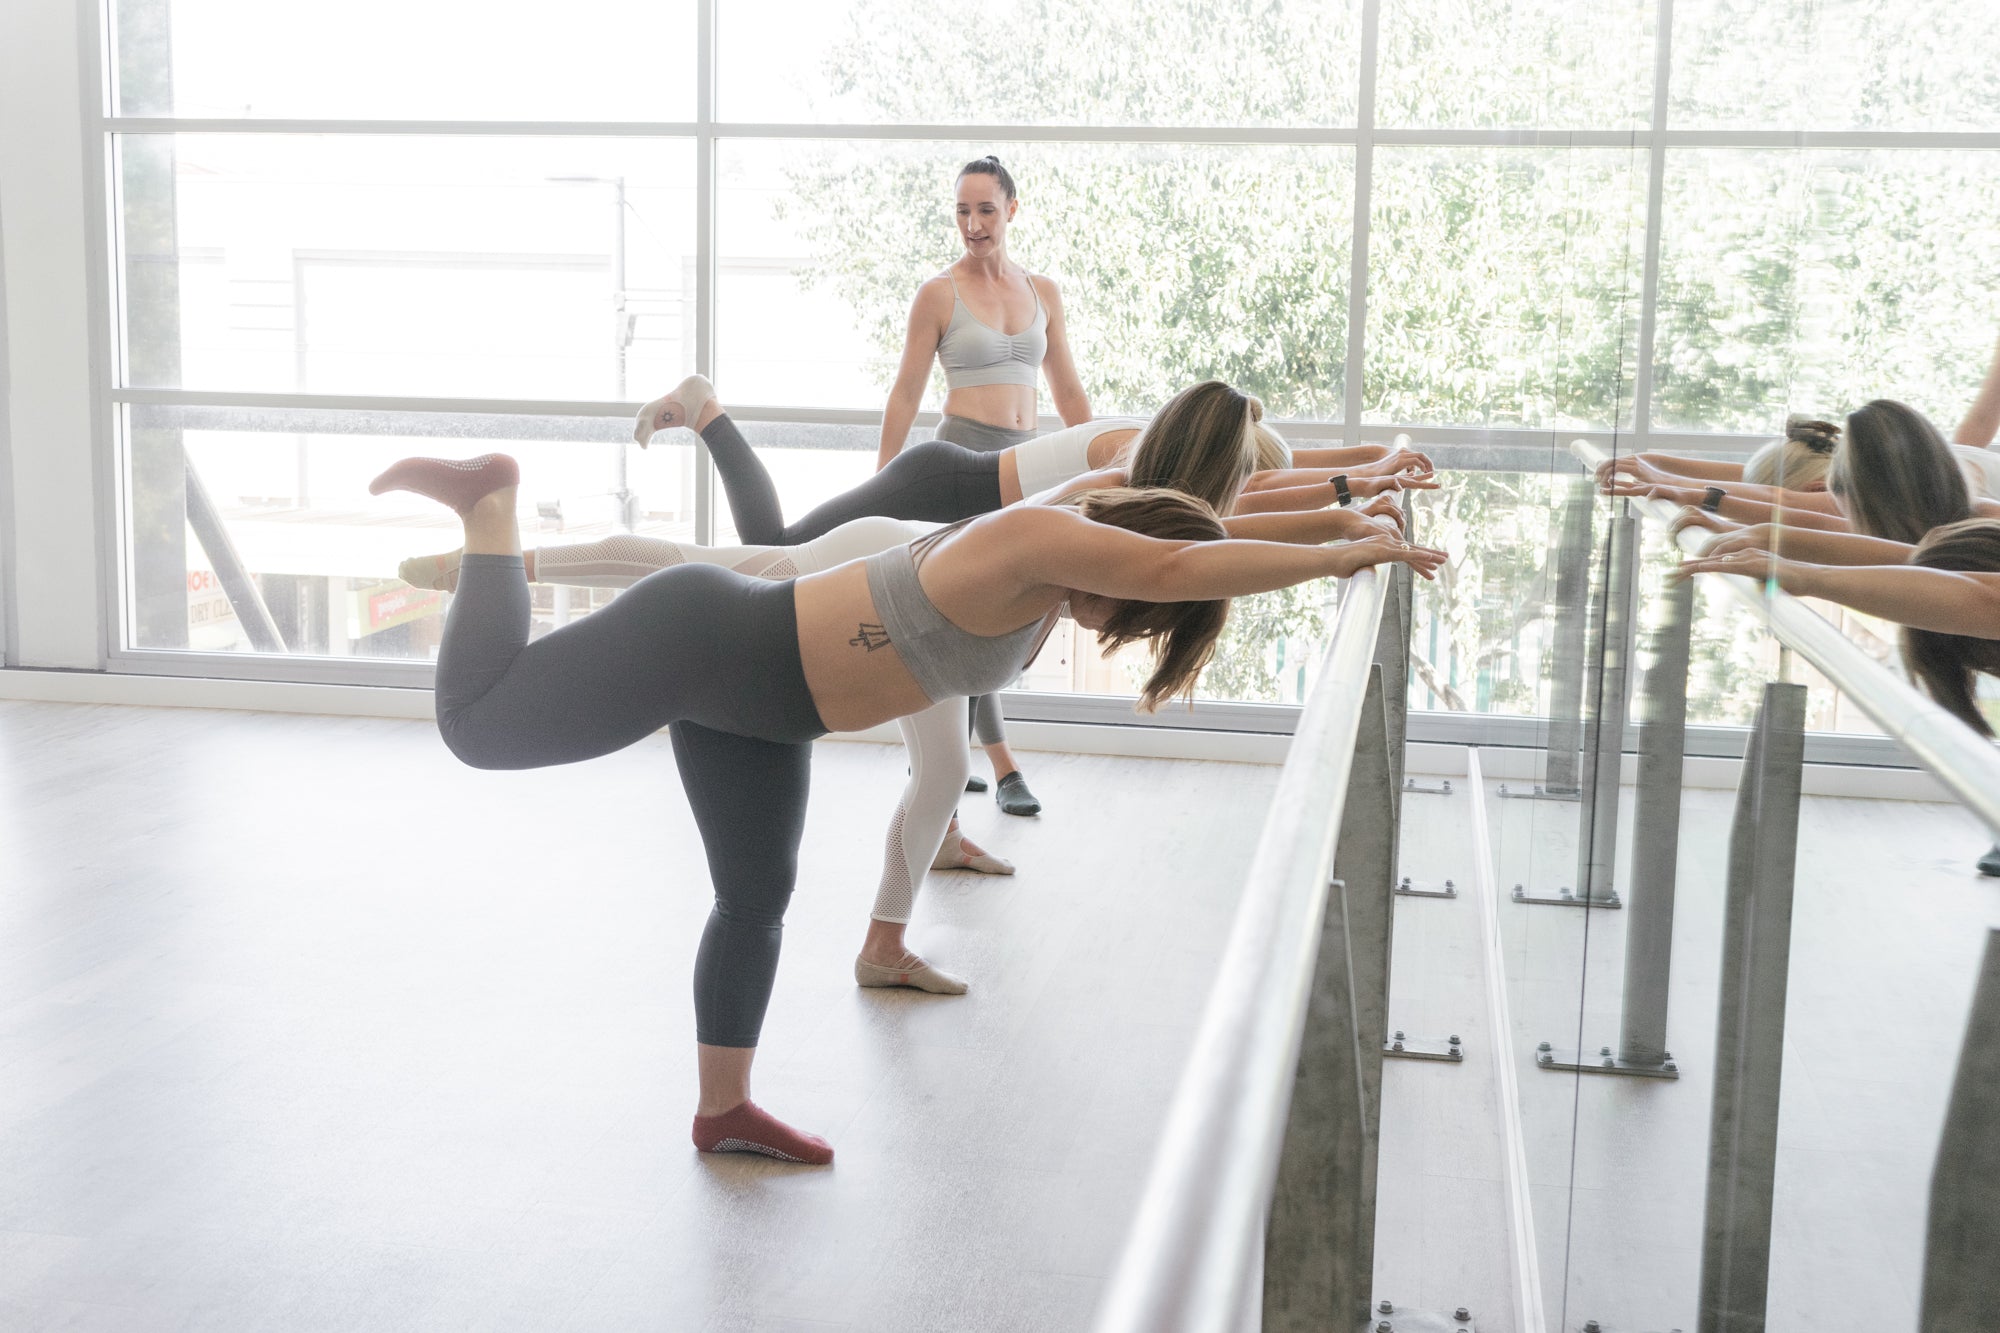
Examples
Cueing can be simple or elaborate and you can vary according to the context: simple exercise versus complex exercise; beginners versus experienced students; fast class versus mindful class.
|
STEPS |
Simple cueing & exercise (Mat Roll Down) |
Complex cueing and exercise (Reformer Kneeling plank) |
|
SBAM Set Up & Safety |
For this exercise let’s stand at the front of the mat |
For this exercise we need 1 medium spring, the foot bar up on a high diagonal. Come to kneeling on the carriage with feet against the shoulder rests and hands on the foot bar. Remember to be careful climbing onto the reformer and don’t try to push the carriage away because it has a fairly light spring and will move quickly. REPEAT this instruction again to be clear. |
|
SBAM Breathe |
Let’s inhale prepare and exhale |
Before we begin the movement, let’s take a moment to notice your body. As you inhale, feel the breath rise and chest expand. As you breathe out, allow your shoulders to relax away from your ears. On your next exhale, draw your navel to your spine and notice this tension you can create to hold your core stiff for the following movement |
|
SBAM Action |
Slowly rolling down through the spine, start by dropping chin to chest and rolling down one vertebrae at a time |
Let’s now find a plank by allowing the hips to lean forward in this position and engage the core. Then holding this kneeling plank let’s slowly slide and press the carriage away, then hold and draw it back again. |
|
SBAM Modification/Progression |
If you are feeling unstable and really tight, slightly bend your knees and take your feet a bit wider *** This would not be needed for most groups unless they had poor balance or low blood pressure (eg, elderly or rehab group) |
Move very slowly and just a little bit to start and see how it feels. If it feels heavy for the back and shoulders then add a light spring. If you are looking for a greater challenge then change the medium spring to the lighter spring but be aware the lighter the spring the harder it is. REPEAT THIS (IF NECESSARY) |
PART 2 - TIPP
OK… Stop there. If the above cues are not obvious to you or seem complex then stop here and start teaching. Barre and Pilates are not more complex than the above… but it’s the following cues TIPP that make you become more than an instructor: you become a teacher, a coach, an educator, a champion, a culture and community maker.
NOTE: Unlike the above, the following steps can come in any order but typically they follow this order. They also don’t need to be used for every exercise.
T is for Technique pointers - Detail. Is the foot flexed or pointed? Where should the spine be? Etc.
I is for Imagery - Embodiment. Using images such as 'sliding down a wall' to keep the spine straight, or 'moving through honey' to slow down a movement. Since not everyone is an auditory learning, providing visuals and images can be more receptive for many clients.
P is for Purpose - Motivation, education, deeper knowledge. Try including a mini-fact such as the translation of french barre terminology, how cardio affects your body on a cellular level, etc.
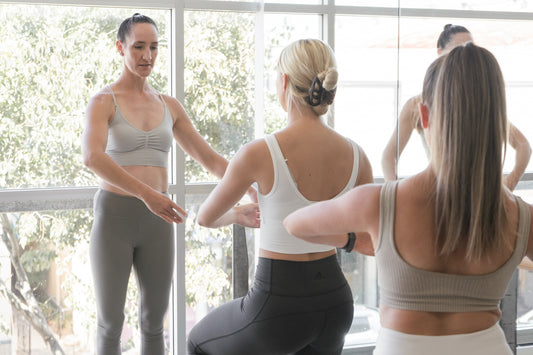
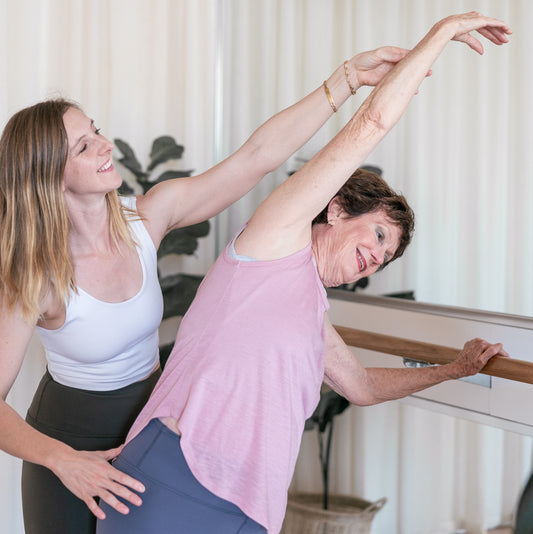
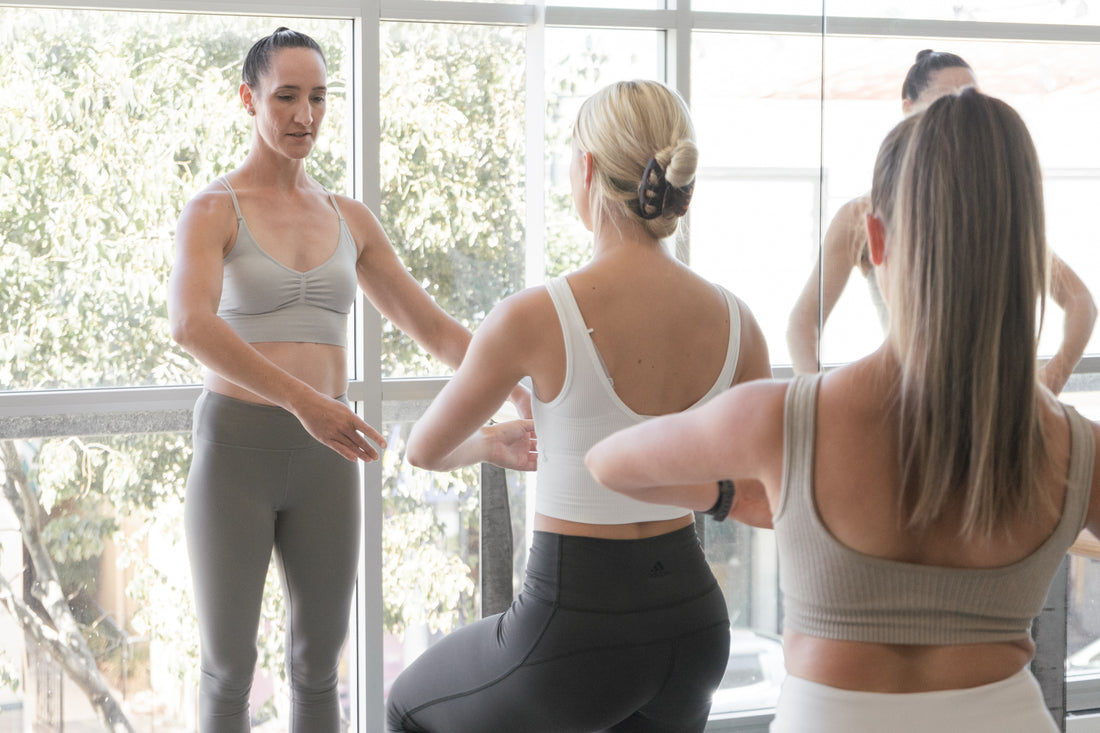
P is for Personal - Feedback, tactile, enlightenment. Pay attention to specific cues clients need and adjust accordingly, whether verbally for the entire group, or individually using tactile cues.

Have you given the 8-step cueing guide a try? Tell us how it went! Tag us on instagram @aleentatraining.
